Showing posts with label Brutus Monroe New Release Blog Hop. Show all posts

Wednesday, February 28, 2018

Tea Time Blog Hop

Hello and Happy Wednesday everyone!

Welcome to our Tea Time blog hop! Each Wednesday we have been focusing on a different stamp set and it's really been a lot of fun. Be sure to visit the Brutus Monroe Blog to follow everyone in the hop to see all of the wonderful creations from this stamp set.

For my card today I used the Brutus Monroe Petal Lace embossing folder in a different way along with the Tea Time stamp set.


To start my card I die cut out two of these stitched collage frames with heavy cardstock and adhered them together with Brutus Monroe craft glue. Then glued then directly to my card base. 


The negative pieces left behind, I placed those inside the Brutus Monroe Petal Lace embossing folder and ran that through my manual die cutting machine. I then glued those pieces back into the collage frame. 


I colored my Tea Time images with Copic markers and arranged them in the frame, I just love the vintage feel of this card! A very clean and simple look.

Here's another look at my card.


I added Wink of Stella to the tea cups and the tea pot and some acrylic bubbles to finish off my card!

Copics used:

white cup- C1, C2
yellow cup- Y000, Y11, Y02
green cup- G0000, G00
pink cup- RV000, RV00, RV02
lavender cup- BV0000, BV000, BV02
blue cup- BG0000, BG000, B01
handles- YR21, YR23, YR24, YR27

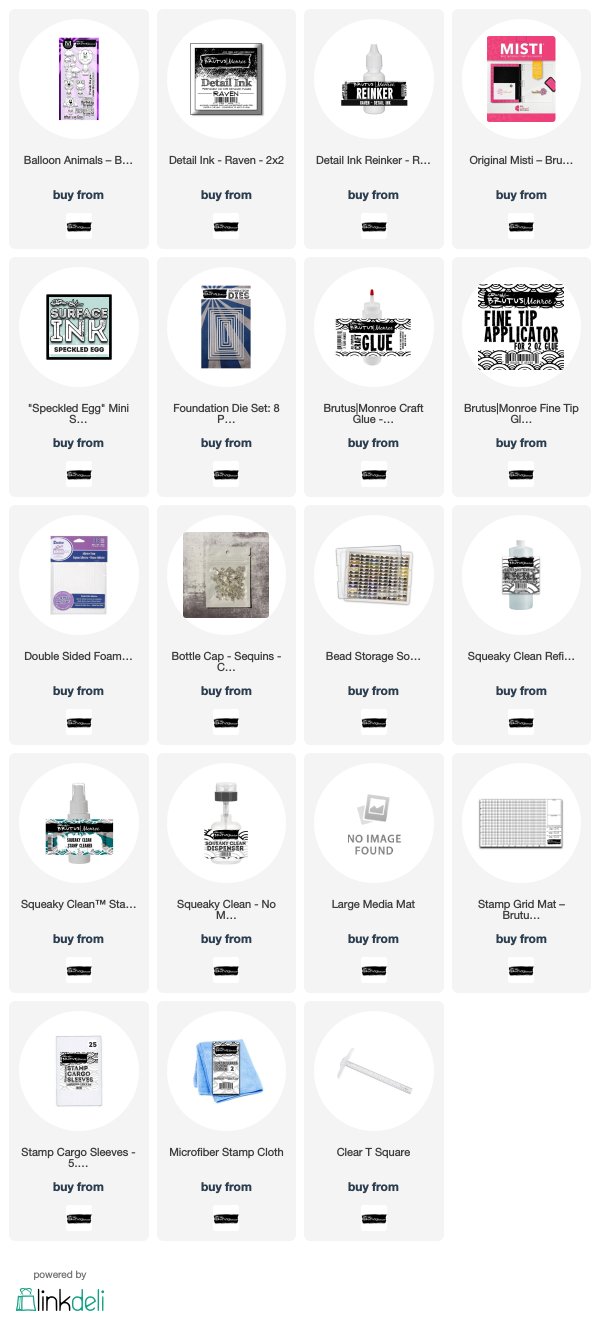
All supplies will be listed below.

Remember this is part of a blog hop, so be sure to head on over to the Brutus Monroe Blog for a complete list for the hop! Enjoy!

Be sure to tag us on social media with your creations so we can see what you're making by using #createyourownending

You can follow me here on my blog and on social media below

Facebook- Lori's Crafty Spot
Twitter-    @kajunhunnie


Thanks so much for stopping by today,
Lori


Wednesday, February 21, 2018

Brutus Monroe Hot Air Balloon Blog Hop

Happy Wednesday Everyone!

Today is our third blog hop for the new release at Brutus Monroe! Today we are spotlighting the Hot Air Balloon stamp set and today I made a slider card!


I began my card today by stamping my hot air balloon with Raven Detail Ink on Neenah 80# cardstock. I colored it with Copic markers and used my Brother Scan n Cut to cut it out. 

For the background I used Strathmore Bristol Smooth cardstock, a cloud stencil, and Brutus Monroe Speckled Egg Surface Ink to create my sky.


To create the slider, I used a slider die I had in my stash and positioned it diagonally across the card to have the balloon move up and down. After cutting the slider piece out, remember to save that piece to add to your card base so it has the same pattern underneath. 


Here's how it looks when adding the piece back in, using your background to position it correctly.


To make the balloon move, I needed slider mechanisms. Here I have two circle die cut pieces cut from cardstock the size of a penny and a plastic spacer that goes between the two circles.


Here's how that will look. Glue the plastic spacer to one circle die cut and place in the slider channel. Add dimensional foam tape to the back of your background piece like in the picture. Move your slider piece around to make sure it has room to slide without hitting the foam tape. Then glue the other circle to the spacer, remove the backing paper and position the background piece evenly into place on your card base, and then adhere your hot air balloon. Your hot air balloon should be sliding up and down freely! So fun!


I completed my card by adding my sentiment and Bottle cap sequins.

Copic colors used:
Pig-E50, E51, E11, E23 Cheeks-R11
Basket- YR24, YR27, E99, E18


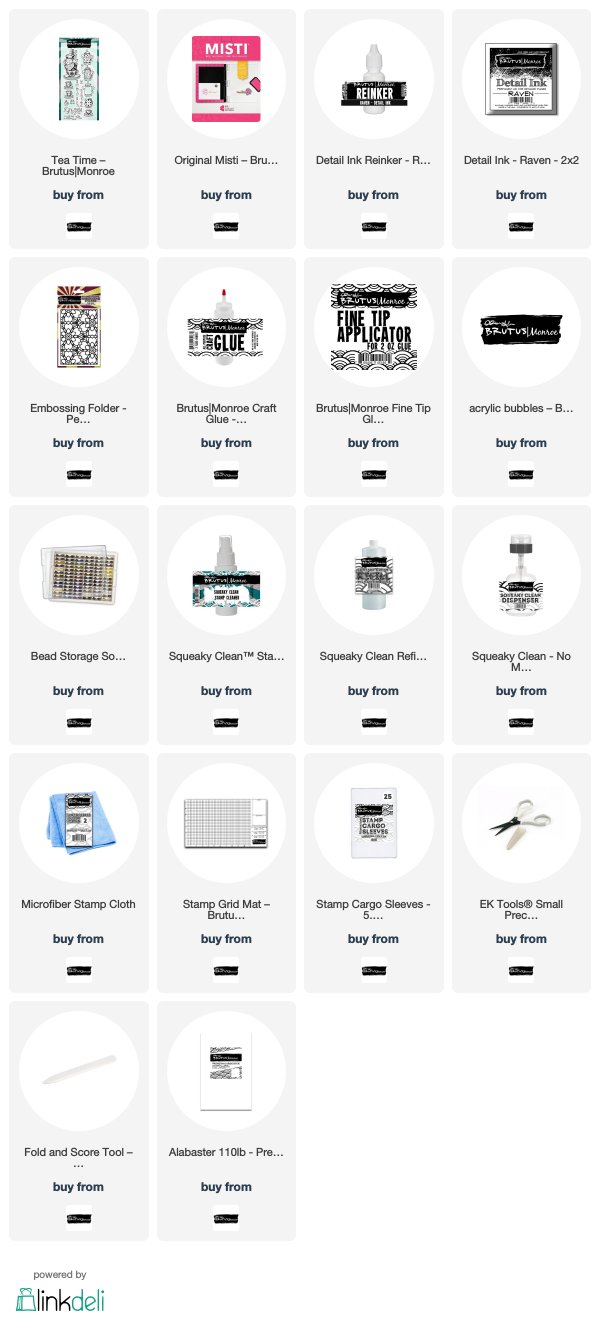
All of the supplies for today's card will be listed below.

This is part of a blog hop so be sure to head over to the Brutus Monroe Blog to see all of the Design Teams creations!

Be sure to follow Brutus Monroe on social media and tag us with your creations using #createyourownending

You can also follow me here on my blog and on social media

Facebook- Lori's Crafty Spot
Instagram- Lori Uren
Twitter-     @kajunhunnie

Thanks so much for stopping by today,
Lori


Wednesday, February 14, 2018

Brutus Monroe Topsy Cakes Blog Hop

Happy Wednesday Everyone!

Today at Brutus Monroe we are kicking off our second blog hop for our new release! This week in the spotlight is our new stamp set Topsy Cakes! This is an absolutely super fun stamp set with lots of different cakes to decorate any card you have in mind from young to old, boy or girl!

The cake I chose today even had a cherry on top, how fun, and I basically made a one layer card!


I stamped my cake with Raven Detail ink on 80# Neenah Solar white cardstock and colored it with copic markers, I'll have those listed below in case you're interested. Then I used my Brother Scan n Cut to cut the image out. 

I used a rectangle die from stash to cut a frame for my card and glued that to my card base with Brutus Monroe craft glue. My card base is a standard A2 size 5.5 inches x 4.25 inches. I popped my cake up on adhesive foam and used my Clear T Square ruler to make sure it was even on my card. I did the same thing for my sentiment and adhered it to my card using adhesive foam to add dimension. 


To complete my card I added Glossy Accents and Wink of Stella to the cherry. I also added Wink of Stella around my card, Stickles, and Crystal Bottle Cap Sequins. I also added Stickles on top of each of the sequins to add more sparkle! 

Here's a closer look at the cake on my card:


Copic colors used:
Red- R24, R27  Stem-Copic Multi Liner 0.03  White Gelly Roll Pen 
Browns- E31, E33, E35 
Green-YG23, YG06, YG09
Pink-RV25, RV13
Shadows- C1

All of the supplies will be listed below for today's card.

This is part of a blog hop so be sure to head over to the Brutus Monroe blog to see all of the Design Teams creations!

Be sure to follow Brutus Monroe on social media so you don't miss anything and tag us with your creations using #createyourownending

You can also follow me here on my blog and on other social media sites below.

Facebook: Lori's Crafty Spot
Instagram:Lori Uren
Twitter:     Kajunhunnie

Thanks so much for stopping by today,
Lori