Showing posts with label Brutus Monroe. Show all posts

Wednesday, May 16, 2018

Brutus Monroe Blog Hop Collaboration with Karen Burniston

Hello and Happy Wednesday!

Today Brutus Monroe and Karen Burniston are collaborating together to show you how well these two company products work together!

Today I'm using the Twist Panel Pop Up die from Karen Burniston along with the Birthday Bears stamp set and a sentiment from Joey's Birthday Year 3 from Brutus Monroe.


Here for the front of my card I used some bright rainbow pattern paper with one of the bears from the Birthday Bear stamp set. I colored this with copic markers and adhered the balloons flat to the card with Brutus Monroe craft glue. I stamped the sentiment Time To Celebrate from Joey's Birthday Year 3 stamp set in Raven Detail Ink and die cut it with a flag die, then popped the bear on low profile foam tape. 


For the inside I used more pattern paper. I used the flag dies from the Twist Panel Pop Up, added twine and adhered it to the top of my card. 
For my panel strips I die cut this with Neenah Solar White and ink blended a sky with Rock Candy Surface Ink. I used the scalloped die an a smaller rectangle together to create a window with pattern paper. I then adhered the rest of my images and added some little hearts from the die set. I cut one more scalloped rectangle to go along the bottom to write a personal message.


To finish my card I added Brutus Monroe clear sequins to the front of my card.

I'm linking a video from YouTube to show the assembly of this card from Karen Burniston. 


Remember this is part of a blog hop, start at the Brutus Monroe Blog and don't forget to hop on over to the Karen Burniston Blog to see what their Design Team has created!

Your next stop on the hop is Amy!

Thanks for stopping by today,
Lori

Wednesday, April 18, 2018

Brutus Monroe Blog Hop Collaboration with Therm O Web

Hello Everyone and Happy Wednesday!

Today we have something a little different for you and it's a whole lot of fun! We are having a collaboration with Therm O Web, so there will be lots of foiling going on! Therm O Web has some new products and a couple of those will be used below. Be sure to start at the beginning of the hop with Brutus Monroe so you don't miss a thing from our design team. Therm O Web has graciously offered a $25.00 gift card to one lucky commentator so be sure to leave a comment on each blog along the hop! And then hop on over to the Therm O Web blog to see what their design team has created for the collab as well!


You should have arrived from Berina Febin's Blog, if not you can always start at the beginning of the hop at the Brutus Monroe Blog!


Today I created two cards using the Deco Foil Transfer Gel with Brutus Monroe stencils. I don't know what it is about this technique but it is so fun and satisfying, and if you've never tried it I highly recommend that you do. 

Here's the first card I made using the new foil from Therm O Web, Shattered Glass, isn't it gorgeous? I also used one of my favorite stencils from Brutus Monroe Polka


To begin my card I used another new product from Therm O Web, Purple Tape! This is a new low tack tape made especially to hold paper in place and not tear it when it's being removed. And it does just that and I love it! 
I taped my stencil partially on the Kraft cardstock and then taped the stencil to my Media Mat. Using a palette knife I spread the Deco Foil Transfer Gel over the stencil and made sure to get an even coverage. Then immediately wash my stencil, palette knife, and mat. You don't want the gel to dry on your things, it will be harder to clean later.   


This is how the Transfer Gel looks after I removed the stencil from the paper. I set it to the side and let it dry for a couple of hours.


Below is how the Transfer Gel looks when it is completely dry, it will be clear.  


It's a good idea to have your laminator on preheating at least twenty minutes before you use it. Cut your foil a little bigger than the piece needed to be foiled, and placed the foil shiny side up into your carrier sheet and run through your laminator. 


Here's what it will look like when foiled. 


I also foiled the word die sentiment using the Deco Foil PeelnStick Toner Sheets. The way I like to do this is to cut a piece of the toner sheet a little larger than my word die, then cut a piece of foil a little larger than the toner sheet and the same way as before, place the foil shiny side up over the toner sheet, place into the carrier sheet and run through the laminator. Then die cut the word with my manual die cutting machine, remove the backing and stick in place! 


I trimmed my card base with a rectangle die and adhered it to a A2 sized card base. I adhered my thanks die with gold thread underneath to dress it up even more and added Acrylic Bubbles for interest and that finished my card. 


Here's my second card using the new Therm O Web Jade foil and the Arrows stencil from Brutus Monroe.


And that's it for me today, which one was your favorite?
Remember this is part of a blog hop, so be sure to leave a comment on each blog along the way!

Your next stop on the hop is Chitra Nair!

Supplies used will be listed and linked below.

Thanks for stopping by,
Lori


Tuesday, April 17, 2018

Brutus Monroe | Therm O Web Week

Happy Tuesday Everyone!

I'm over on the Brutus Monroe Blog today, it's Therm O Web week so come over and join the fun!


Lori

Tuesday, April 3, 2018

Birthday Badges

Hello and Happy Tuesday Everyone!

Today I have two cards to share using the Birthday Badges stamp set!


For my card I began using Brutus Monroe Alabaster cardstock. Using my Misti and with help of the Misti corners I aligned the ribbon stamp at a diagonal. I stamped first with Rouge Surface Ink, then Jack O Lantern, and Phonebook. Each time only moving my paper not the stamp. For the second panel I used Sea and Oz Surface Inks.

Next I cut out a scalloped circle from Jack O Lantern and Alabaster cardstock.


I adhered them both to the stamped ribbon panel. Next I stamped Happy Birthday directly onto the panel in Raven Detail ink. I adhered the panel to a side folding A2 card base with Brutus Monroe craft glue and added Glossy accents and Stickles to the flame on the candle.


For the last card I heat embossed the sentiment with Raven embossing powder. I die cut three frames for this card to add over the stamped panel for dimension. Then adhered it to the card base using Brutus Monroe craft glue. I added clear sequins and Stickles to finish my card.

And that's my card for today, thanks for stopping by!
Lori

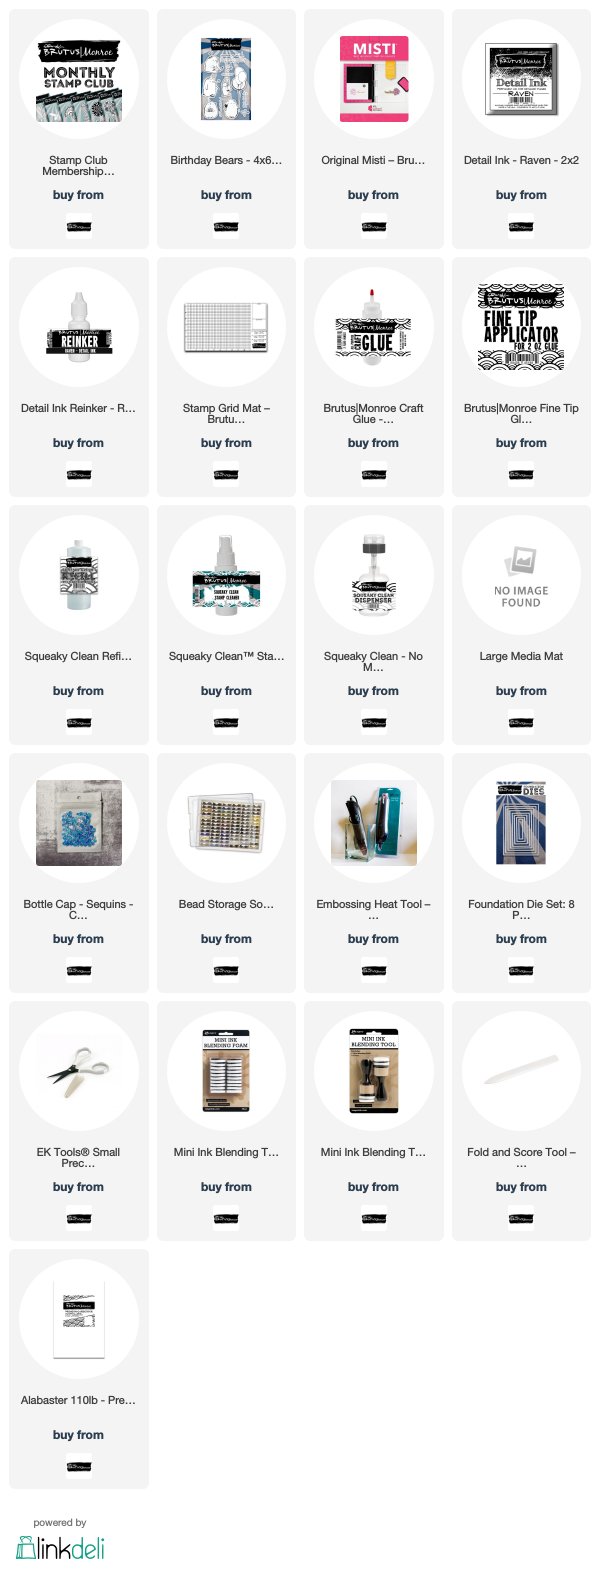
All Brutus Monroe products are listed and linked below.


Wednesday, March 28, 2018

Mixed Media Extravaganza Blog Hop

Hello and Happy Wednesday Everyone!

Today's blog hop consist of something a little different! Today our blog hop is all about mixed media! Brutus Monroe has tons of mixed media product in the store, and if you are fan of mixed media or new to it, today we are each demonstrating some fun and different ways to use the mixed media products in the store! 

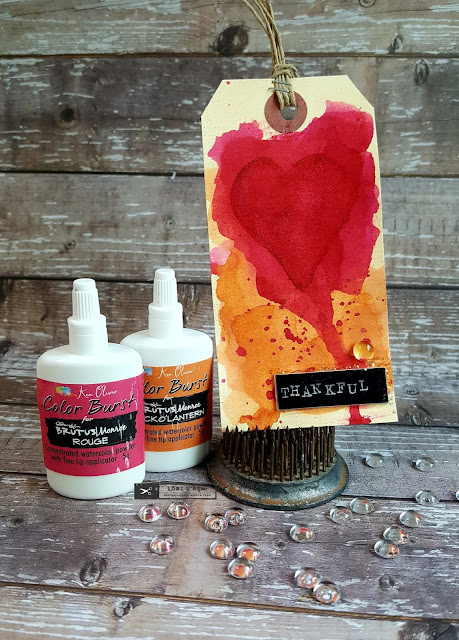
For my mixed media projects I made easy watercolor tags. Brutus Monroe carries several colors in the store and also some jumbo tags, I began here with small manila tags. And I have to say that these first three were test runs and turned out to be my absolute favorite!


All of my tags were created using Brutus Monroe Color Burst, and to keep the paper from falling apart using all of that water I applied transparent watercolor ground from Daniel Smith and dried it with my heat gun and this save me a lot of problems. 

Here is the last tag I created using a jumbo tag.


To began my tag I applied watercolor ground to the tag and dried it with my heat gun. At first I only used two colors of Color Burst, Cornflower and Marsala and achieved some beautiful shades of purple and violet. Later I went back in with green that I mixed with Cornflower and Cabbage, and I mixed a little Jack O Lantern with Zest to get a lighter orange. I used my paint brush to add some splatters of blue paint for texture.


 This photo shows the back of the tag having used the watercolor ground, you can see how the watercolor I've used hasn't penetrated through the tag. The colors you see is the mess I was making on my media mat. I tell you that watercolor ground is a life saver!


Next I used the Polka stencil with the Gargoyle Surface ink to add more texture and interest.


Then I used my Versamarker with the same stencil and Penny embossing powder from Brutus Monroe to do some heat embossing. I also used the embossing pad from Brutus Monroe straight to the bottom of the tag and added the Penny embossing powder there as well. You can see it in the photo after the one below.


Here I felt I needed to add white to the tag, white will come forward on your project if it feels too dark and push all the dark back. I used the birds and bird cage from the Angel Wings stamp set and heat embossed them in Alabaster embossing powder. 


For the finishing details I added a Celebrate word tag I had in my stash and some Acrylic Bubbles. I then stamped some feathers from the Angel Wings stamp set at the bottom in Raven Detail Ink. I kept thinking I needed one more thing so around the sentiment I added some Liquitex Glass Beads, which is supposed to leave a glassy shine, but you defiantly can not see that in the photos. I tied some string around the top, and that completed my project! 


Here's a close up of the glass beads. This is another fun medium!


Remember this is part of a blog hop, be sure to head over to the Brutus Monroe Blog where you can start at the beginning and not miss a thing! Each member of the team has created some great projects for today's hop!

All of today's supplies from Brutus Monroe will be listed and linked below.

Thanks so much for hopping along with us today,
Lori


Tuesday, March 27, 2018

Easter Card using the Oval Simple Blends

Happy Tuesday Everyone!

Today I have a last minute Easter card to share using the Sweet Pops stamp set and the new Oval Simple Blends stencil. There are two more stencils in this line, a square and a circle, but I thought this one would be fun to use as an Easter egg.


To begin my card I use a piece of Bristol Smooth cardstock cut to 4.25 x 5.5. I first placed the stencil down on the cardstock then I placed the cupcake stamp on top where I wanted it to go and marked it with a pencil. I removed the stencil, erased the pencil lines, stamped the image and created a mask for it so I could begin ink blending.


I began ink bending with Squeezed Lemonade Distress Ink and then used Dried Marigold. After I flicked some watered downed Peacock Feathers and Carved Pumpkin to create the look of a speckled egg. Then I removed the mask and Copic colored the image. 


I heat embossed the sentiment Easter Sweeties from the stamp set using the new Emerald embossing powder from the Summer Collection, I thought it matched pretty well. Then I die cut the panel with a rectangle die and adhered it to a piece of patterned paper, and then adhered those to my card base.
Here's another look at my card.


I added Marigold and Clear Bottle Cap sequins to the egg and on my card and some gems from my stash. I also added Stickles to the center of the sequins and on the cupcake for a little sparkle.
And that completes my card for today! I hope everyone has a Happy Easter!
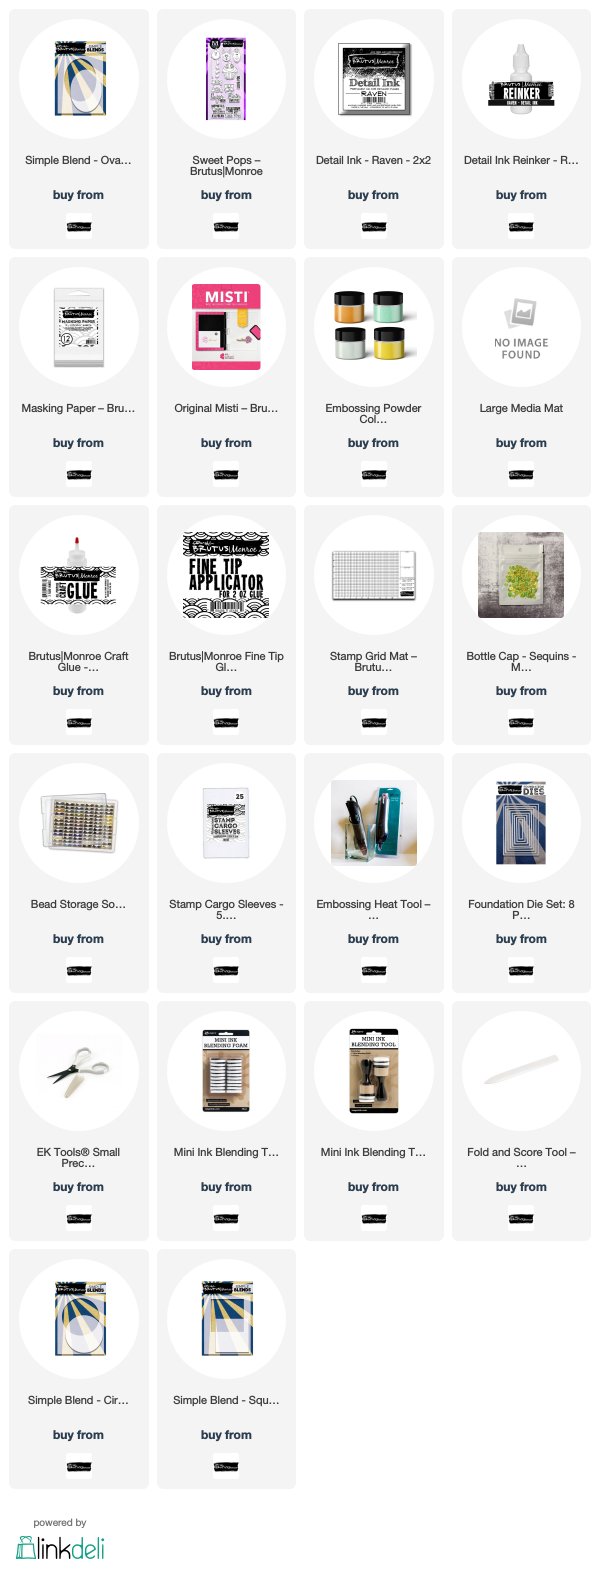
All Brutus Monroe supplies will be listed and linked below.
Thanks for stopping by, 
Lori 

Wednesday, March 21, 2018

March Stamp of The Month | Monthly Stamp Club Blog Hop

Hello Everyone!

Today I'm here to talk about the monthly stamp club. With the monthly stamp club subscription you will receive a 2 x 3 stamp in the mail for only $5.00 once signed up! That also includes shipping plus a 10% discount to the store. Such a great deal! You will receive a monthly email with product inspiration and digital content that coordinates with the stamp. For more information about stamp club or to sign up click this LINK


The March Stamp of The Month is this super cute Hippo!


To begin my card I started with my background using a piece of Bristol Smooth cardstock. I chose the Bristol Smooth cardstock because it is so easy to blend inks. Today I used used Salty Ocean Distress Oxide to blend the background and Blueprint Sketch for ink splatters. 


Then I colored the hippo with Copic markers. I wanted him to have balloons attached to his sign to draw attention to him, so I pulled out the Birthday Bears stamp set. Those balloons were perfect, plus the sentiment went well too! I just had to do a little masking to get the sentiment on the sign. Then I cut a little notch in the top of sign to hide the balloon string and later added twine, maybe that part wan't needed after all. :)


I used a scrap piece of Bristol Smooth cardstock and ink blended Luck Clover Distress Oxide, and die cut it out with a grass die. I trimmed the panel down with a rectangle die and also trimmed the grass with the same rectangle die so the edges would match. I adhered the grass to the panel with Brutus Monroe craft glue and then adhered the panel to an A2 sized 4.85 x 5.5 sized note card with the same glue. 

I popped the hippo and balloons up on with foam tape for dimension and added Wink of Stella and Stickles to the balloons. I added Cotton Candy Bottle Cap Sequins to the card for interest and Stickles on the sequins for more sparkle!


Here's another look at my card for today.


This is part of a blog hop so be sure to head over to Brutus Monroe to start at the beginning to see what the rest of the design team has created! There will be plenty of inspiration along the way!

Thanks so much for stopping by today, all Brutus Monroe products will be listed and linked below.

Lori

Copics used:
Hippo- W1, W2, W4, W5  Ears-R22  White Gelly Roll Pen 08
Sign-   C1 YR24 YR27 E99
Blue Balloon- BG000, B00, B01, B02
Green Balloon-YG11, YG03, G14
Yellow Balloon-Y06, Y13, Y15
Red Balloon- R21, R22, R08


Tuesday, March 20, 2018

Creating a Background With Stencils and Watercolor Markers

Hello and Happy Tuesday Everyone!


For todays cards I really wanted play with watercolors and an easy way for me to do that is to use my watercolor markers. I used Tombow markers for the cards today and two stencils from Brutus Monroe. For the first card shown I used the Paint Spots stencil and for the one above I used the Pugsley stencil.

I began by getting all the colors I wanted use and a piece of watercolor paper and a brush. You can use a water brush for this, I have been practicing with a new brush. Below you can see all of the colors I used for both cards.


I taped the stencil to my watercolor paper and traced the stripes on the stencil in rainbow order.


Then I used my brush to blend those colors out just a little, using very little water.


I set it aside to dry and began working on the other card panel and repeated the same process only using a different stencil. Once they both dried I trimmed down the panels using a rectangle die. I trimmed down two pieces of cardstock in different colors and adhered them to my card base, and then adhered the watercolor panels on top.
For the sentiments I used a hello and a friend die from my stash and die cut them out with black cardstock, which was a nice contrast against the rainbow colors. Once I adhered the sentiments down I added a coat of Irresistible Shimmer, which gives a really pretty glittery sheen to the die cuts. I also added Acrylic Bubbles to the Hello card and Cotton Candy Bottle Cap Sequins to the Friend card for interest.
And that's my card for today, I hope you will give it a try!
Lori

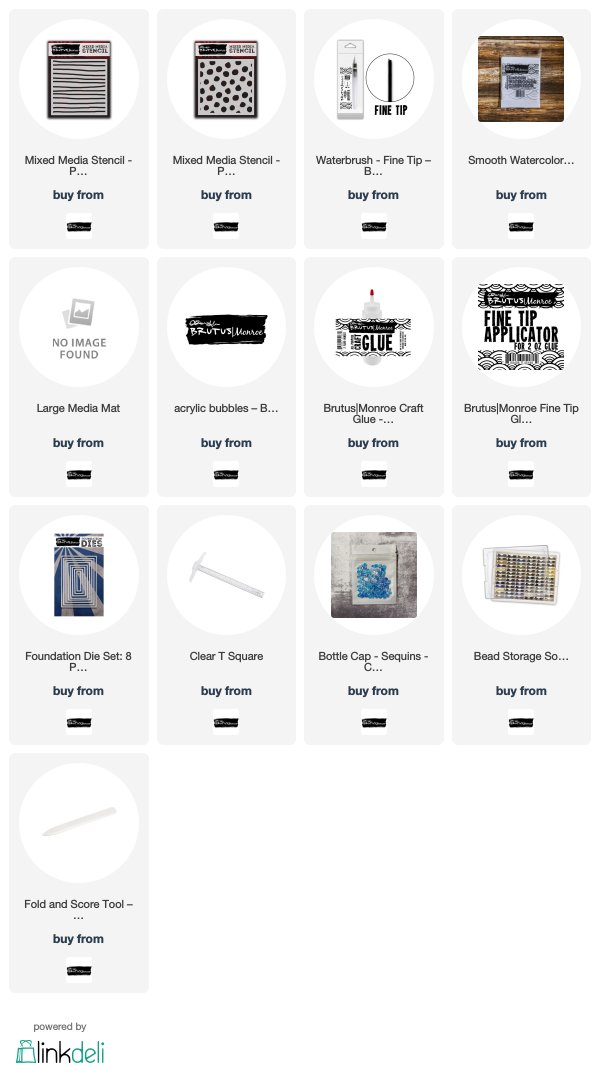
Supplies I've used from Brutus Monroe are listed and linked below.


Wednesday, March 7, 2018

Big Top Blog Hop | Welcome To The Circus

Hello and Welcome to the Big Top Blog Hop!

Each Wednesday we are focusing on a different stamp set to inspire you! Be sure to visit Brutus Monroe to start at the beginning of the hop so you won't miss anything.

I wanted to use all of the images in this set, so today I created a tri-fold card.


Here's how it looks closed and ready to be mailed.


To make this tri-fold card I knew I wanted to ink blend and I knew I needed a large piece of cardstock. I used Bristol Smooth cardstock, it comes 11 x 14 inches which is plenty long for a tri-fold card and perfect to ink blend on, win, win.

I cut the Bristol Smooth cardstock down to 12 x 5.5 inches. Typically you score the cardstock right now at the 4 and 8 inch mark, but I drew a faint pencil mark instead. I wanted an indication of where my card would fold so I could ink blend first. I'll erase the pencil lines before ink blending.


I colored my images next using Copic markers and Stylefile Markers, then cut them out using my Brother Scan N Cut. 

Next I layed my cardstock out, my images out, and some circle dies out, to determine how many circles I would need and what sizes. And then I created masks with the dies using scrap cardstock. You can use making paper for this, I just found this quicker and easier. The idea for the circles was to create each image as if it was being highlighted with their circle rings. I used Squeezed Lemonade Distress Oxide Ink for the circles. 


Here's the mask I created with the scrap cardstock.


After I completed the ink blending I scored the cardstock at 4 inches and 8 inches and glued all of the images into their highlighted circus rings. I added the accessories that came with the stamp set around the card to fill it in. 

I stamped the sentiments using Raven Detail ink on more scrap paper I had left over and die cut them out using the smallest tag die from the Brutus Monore 5 Piece Stitched Tag Die Set and adhered those to the card. I tied a piece of twine to the tag on the front of the card. I added wink of Stella to the images to add sparkle because all circus' need that sparkle!


Here are some close up pictures


And that completes my card for today! 

Remember this is part of a blog hop, be sure to head over to Brutus Monroe for a complete list of everyone in the hop! I hope you enjoy!

Be sure to tag us on social media so we can see what you're creating with #createyourownending

You can follow me here on my blog and on social media below

Facebook-  Lori's Crafty Spot
Instagram-Lori Uren
Twitter-     @kajunhunnie

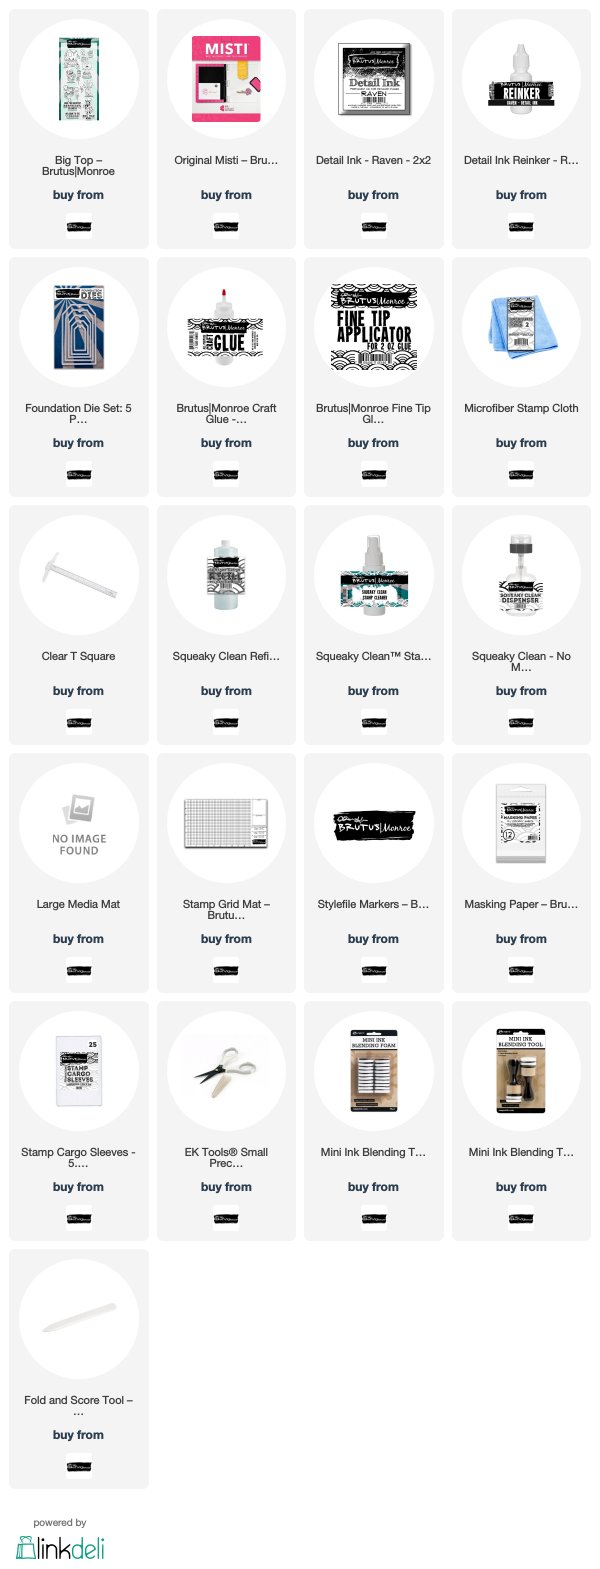
A list of today's supplies are listed below.

Thanks so much for stopping by!
Lori